Saturday, December 13, 2014

Baby Quilt - Part Two...

As I mentioned in the previous post, I failed to take as many photos as I have in the past, so there were quite a few steps between the end of the previous post and the beginning of this one, but here is the completion of the Baby Quilt...

I always lay out my layers on the floor and tape them down using painters tape, so the backing went down first, then the batting, and then the top.
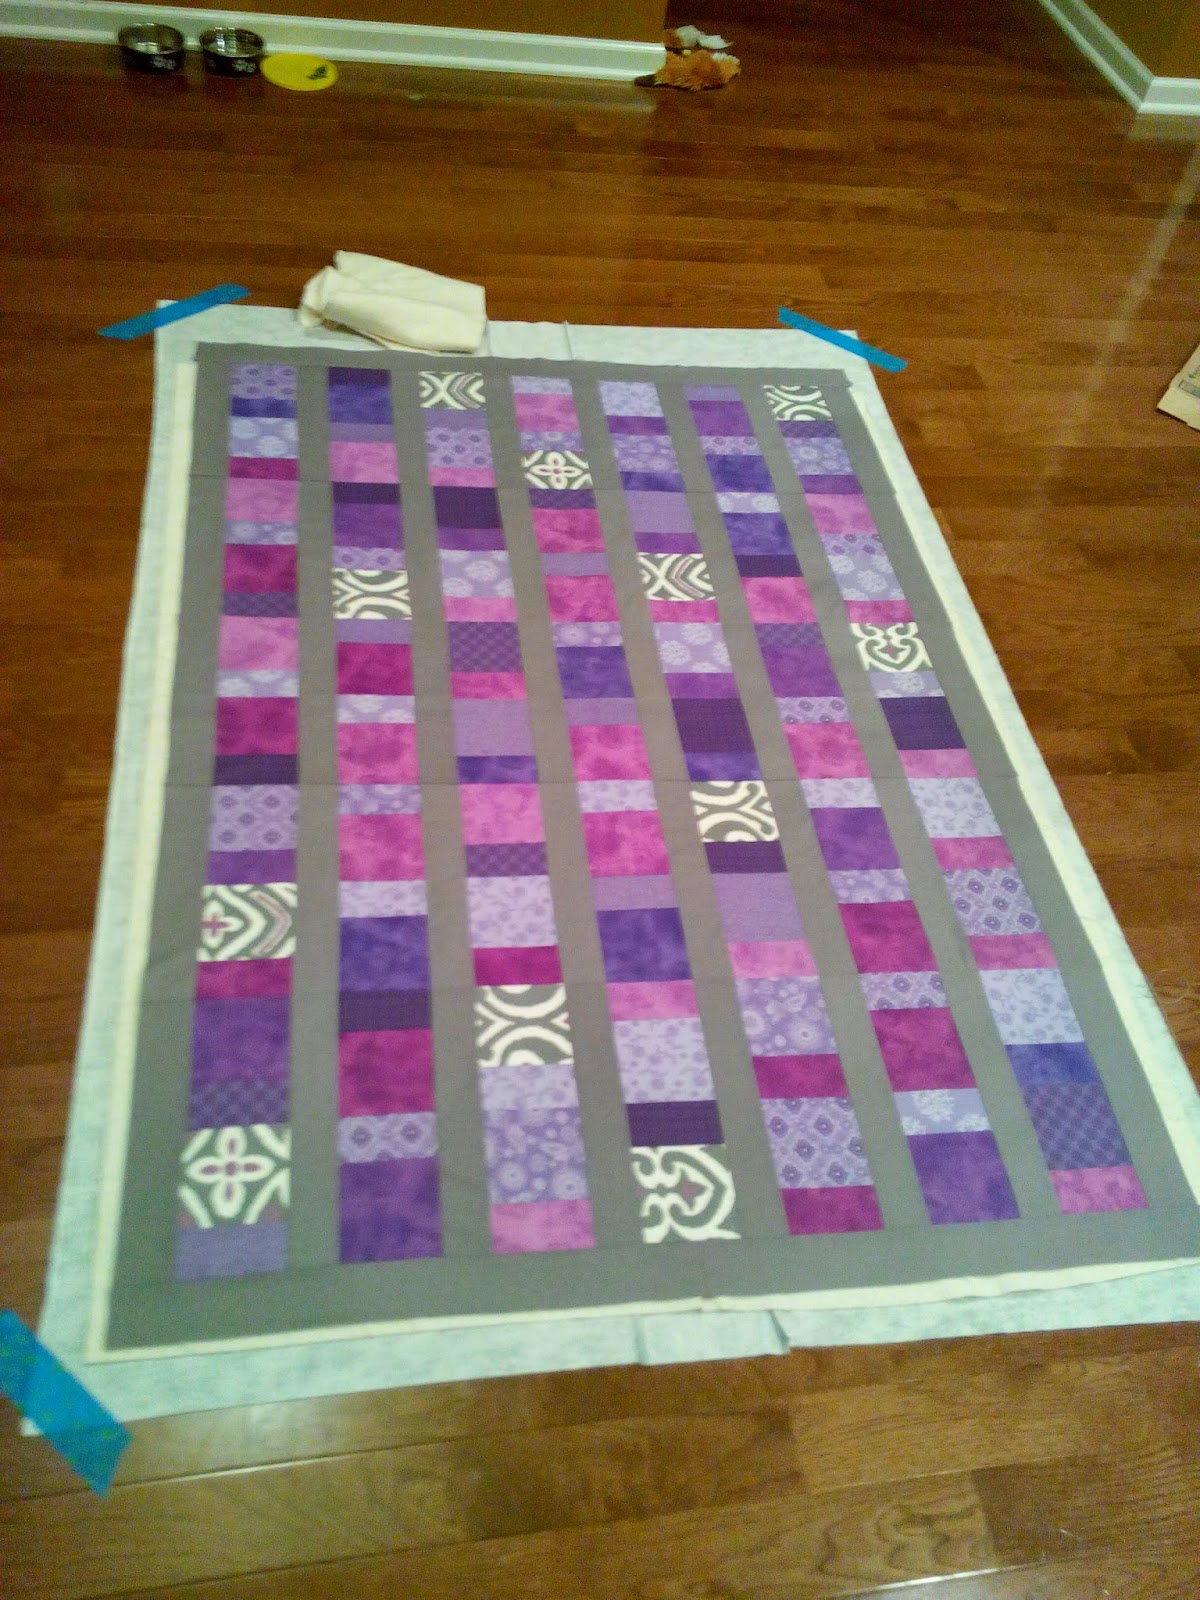
Layed out and ready for pinning...


I dump a bunch of pins and then start pinning...


I try to put pins about every four inches.  For this quilt, I planned to do straight line quilting around the purple columns, inside the purple columns and then use a decorative stitch straight down the center of the purple columns.


While out shopping one day, I happened to find the same fabric that Grandma had used to cover the rocking chair, and I picked some up to use as binding.  I think stripes, polka dots, or any swirly pattern works great for binding and when I initially saw the fabric, I knew it would be perfect for binding, but there wasn't quite enough, so I was super excited to find the same fabric so I could bind this quilt using it.

I will always opt for cutting my binding fabric on the bias if I have the choice.
It makes laying that binding flat SO much easier...
Though it is bit of a pain to cut it!
Then I press together and roll onto a large spool.
I use hair clips to keep my binding in place while I sew.
I didn't get a real good photo of the full quilt, but
here is about half of it...
And the last step is secure the label under the binding, this way I only have a small amount of hand stitching to secure the label for future posterity.

Simple Hand Written label, and the gift was ready to be given.
I made this Baby Quilt much larger than a traditional baby quilt because I wanted it to be large enough for mom or dad to snuggle with baby while rocking in that rocking chair with the matching fabric.

And THIS is why we all do what we do...

Baby and Mother cuddling under the quilt...
There can be no better way to see one of my quilts!

Hopefully I'll be able to post some more next week.  I am working on two projects right now.  One I can share, and one I can not... Yet... So while posts are being written, none will be seen unless I can carve out time to actually work on Bonnie's Mystery.

Until His work in me is complete,
Paul

Monday, December 8, 2014

Baby Quilt - Part One...

As many of you know, I have done very little quilting, and even less blogging about it over the past two years, because I have been pursuing a Master's Degree.

My degree is a Master of Ministry Degree, and I am not sure exactly what God has planned for me, but I do know that since I no longer have papers to write and hundreds of pages to read every week, I now have time to get back to my sewing machines.

A little over a month ago, a friend of ours had a baby, and my first project back at my machine was a quilt for them.  I waited until it was delivered to publish two posts I wrote about the baby quilt process...  Here is the first...

I almost feel like a newbie again and I made some newbie mistakes including forgetting to take as many photos as I should to make for a good post, but here it goes, I'll share what I can...

I started by asking the baby's Grandma what the colors were in the Baby's nursery.  (I wanted it to be a surprise after all!)  It turns out that Grandma had re-covered a rocking chair for the nursery and had all of her scrap material still at home.  So I got my hands on that scrap material and chose a pattern that would enable me to use as much of the scrap as possible.

Fabric from Grandma

Purples and grays.  I love working with grays! Lucky Me!


Purples and Grays, all ready to be cut up...
I wanted to be able to finish this quilt quickly, as the baby was born the week I got started, so I chose a fairly simple "Stacked Coins" pattern which I adapted slightly to make cutting and assembly go a little more quickly.

I cut the FQs into 4.5 x 2.5 inch rectangles and 4.5 x 4.5 inch squares.  I had some prints and some batiks.  I put a print square next to a batik rectangle for half of the blocks and a batik square next to a print rectangle for the other half of the blocks, and started chain sewing...


Rectangles and Square paired and ready for sewing...

Chain Sewing.  I chain sewed 80 pieces.
After matching the colors, and creating the sub-unit blocks, I paired each subunit with another unit and then added a gray border to one side of the block.


Three Full Blocks with two squares, two rectangles, a border piece
being prepped for sewing together

Here you can see my lettering & numbering system.  I had just pulled that number out from the seam, as it was going to be replaced with a new one.


I will post more assembly photos and the finished product later this week!


Until His work in me is Complete,
Paul

Wednesday, December 3, 2014

Quiltville Mystery Quilt 2014 - Part ONE

I have decided that my third quilt project for the year will be Bonnie Hunter's Mystery Quilt.  If you want to learn more about this quilt, or if you want to join in and do one yourself, click on that button to the right with the Pink Geranium and visit Bonnie's Quiltville Blog.

Each week Bonnie gives a "clue" which is really a set of instructions, and each week the participants cut and make the subunits per Bonnie's instructions.  We are all "flying blind" as we have no idea how all of the subunits will be assembled, but each week we make the required number of units and then wait for further instruction.

Bonnie is a dedicated "Scrap Quilter" which I admire, but most Scrap quilters have a lot of scraps to use and choose from.  I don't.  So I purchased yardage, and I chose to purchase full yardage of each color.  I did not try to purchase a bunch of Fat Quarters to get a variety for a scrappy look, I decided to use Batiks.  Because of the nature of how batiks are made, they look a little scrappy anyway.


My Batiks for the Mystery Quilt.

I will try to keep up, as getting behind just gets frustrating later on.  So, without further ado, here is what I accomplished for this the first week of Bonnie's Grand Illusion Mystery Quilt...

I got all of my strips cut for this week on Friday Night...


Week ONE strips all cut and ready to cut some more!
I decided to start with the easy step and I cut 140 2.5 inch squares of yellow and black.


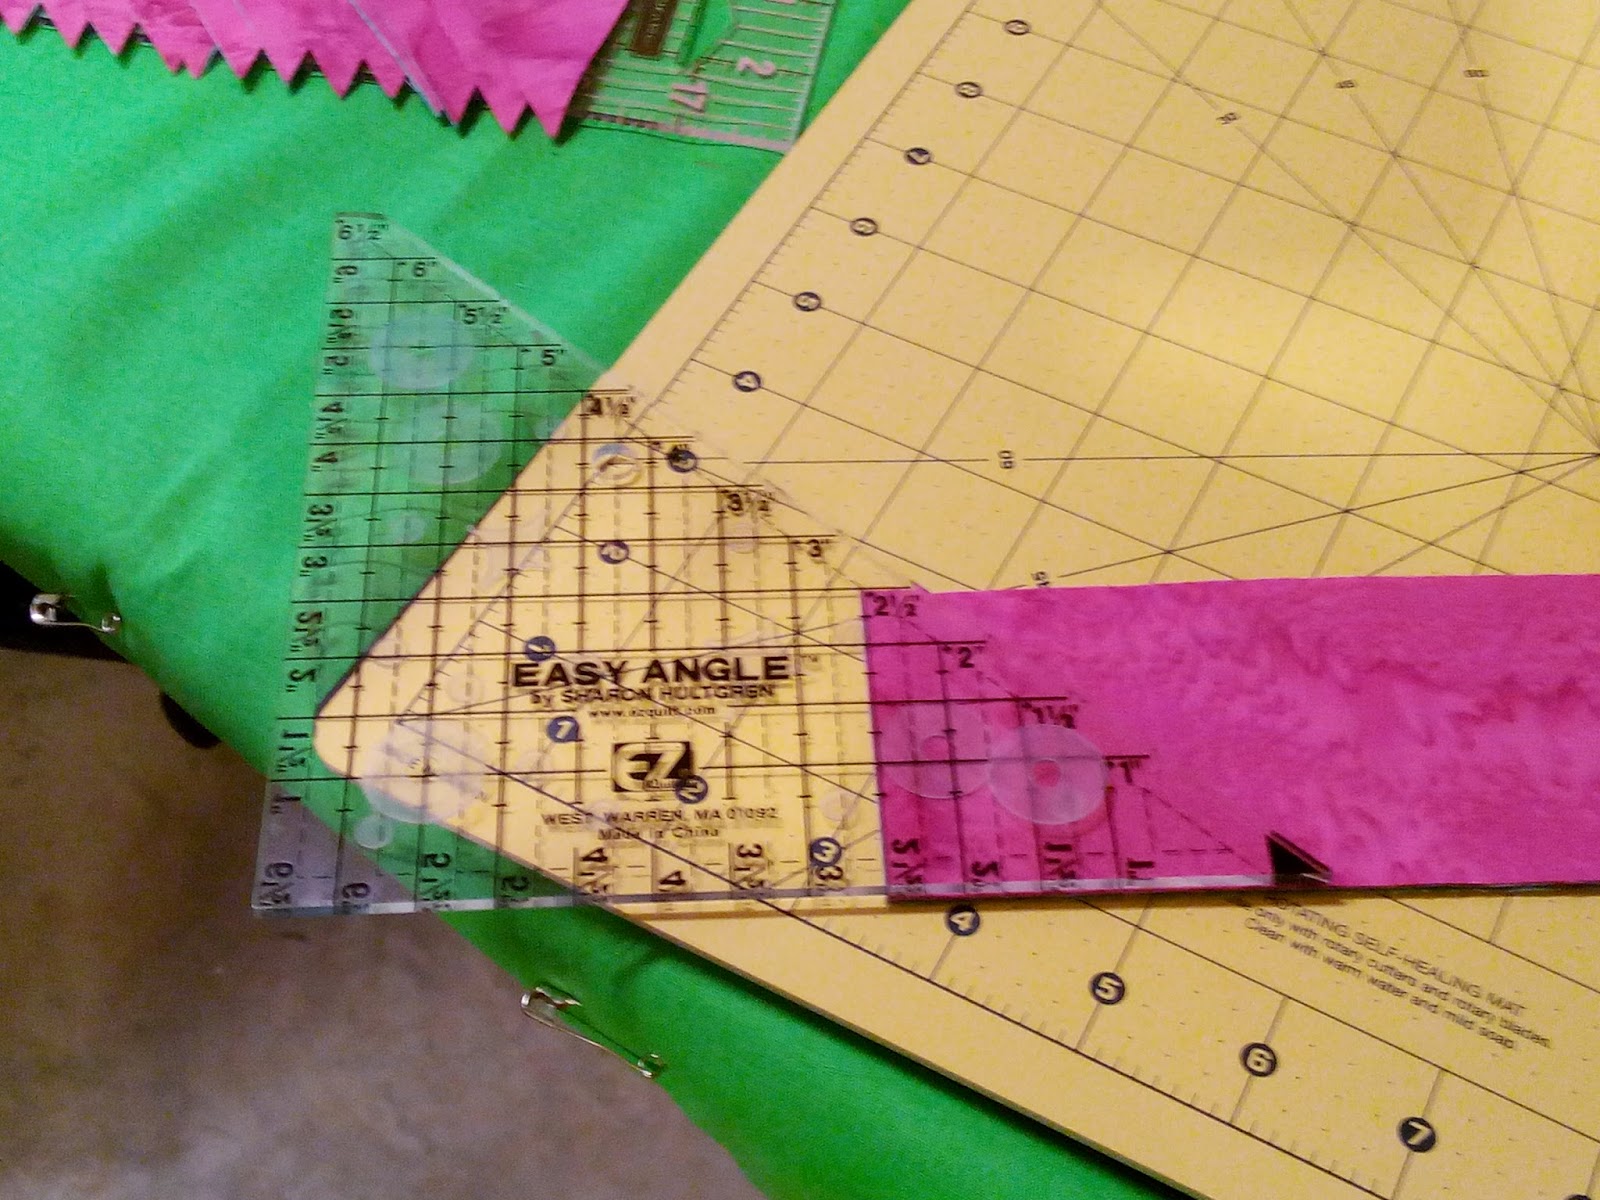
I used my Easy Angle Ruler to cut my squares as well!  Four at a time,
2 Yellow and 2 Black
144 Black and Yellow 2.5" Squares

Then I started using the Easy Angle Ruler to do my HSTs of Pink and Blue.

The Easy Angle is easy to use once you get the hang of it, and it cuts perfect triangles with one dog ear already cut off!


Line up the proper corner with the upper left corner...
There is even an arrow to help you get the right one!

Simply turn the ruler as if it were on a hinge and line it up
with your previous cut and the proper marking, in my case, 2.5". 
The small black triangle marks the dog ear that you are "cutting off".

Two (or four) HSTs ready to sew!

I think I've mentioned that I don't like HSTs.  I did 36 HSTs, they all sewed up fine, but are about a sixteenth of an inch too big.  (They are in the box next to the squares above...)  Now I will have to trim them all up.

So, on my second batch, I shortened my seam just a hair and after four, I checked them and they were fine.  I proceeded to sew the remainder at the exact same seam, but somehow my bottom thread tension changed!  I finally sew a whole string of HSTs with true quarter inch seams and now I have to rip 'em all because the thread isn't tight enough to keep them together.  FRUSTRATING!!


HST Strung across the room from machine to
Pressing Board, only to find I could not press them!

Look at those wonderfully straight quarter inch seams... No pinched
corners, but LOOPS and LOOPS.... Aaaaaarrrrrrrggggghhhhh!


So... I'm going to be behind right from week ONE!  Oh, well, I'll plug along and get it done.  One Step at a Time...

If you came here from Bonnie's Link Party, Click HERE to go back!  If you want to visit Bonnie's site and see what the craziness is all about, go ahead and click and go visit!  I won't mind!  Thanks for visiting!  See you next week...


Until His work in me is complete,
Paul